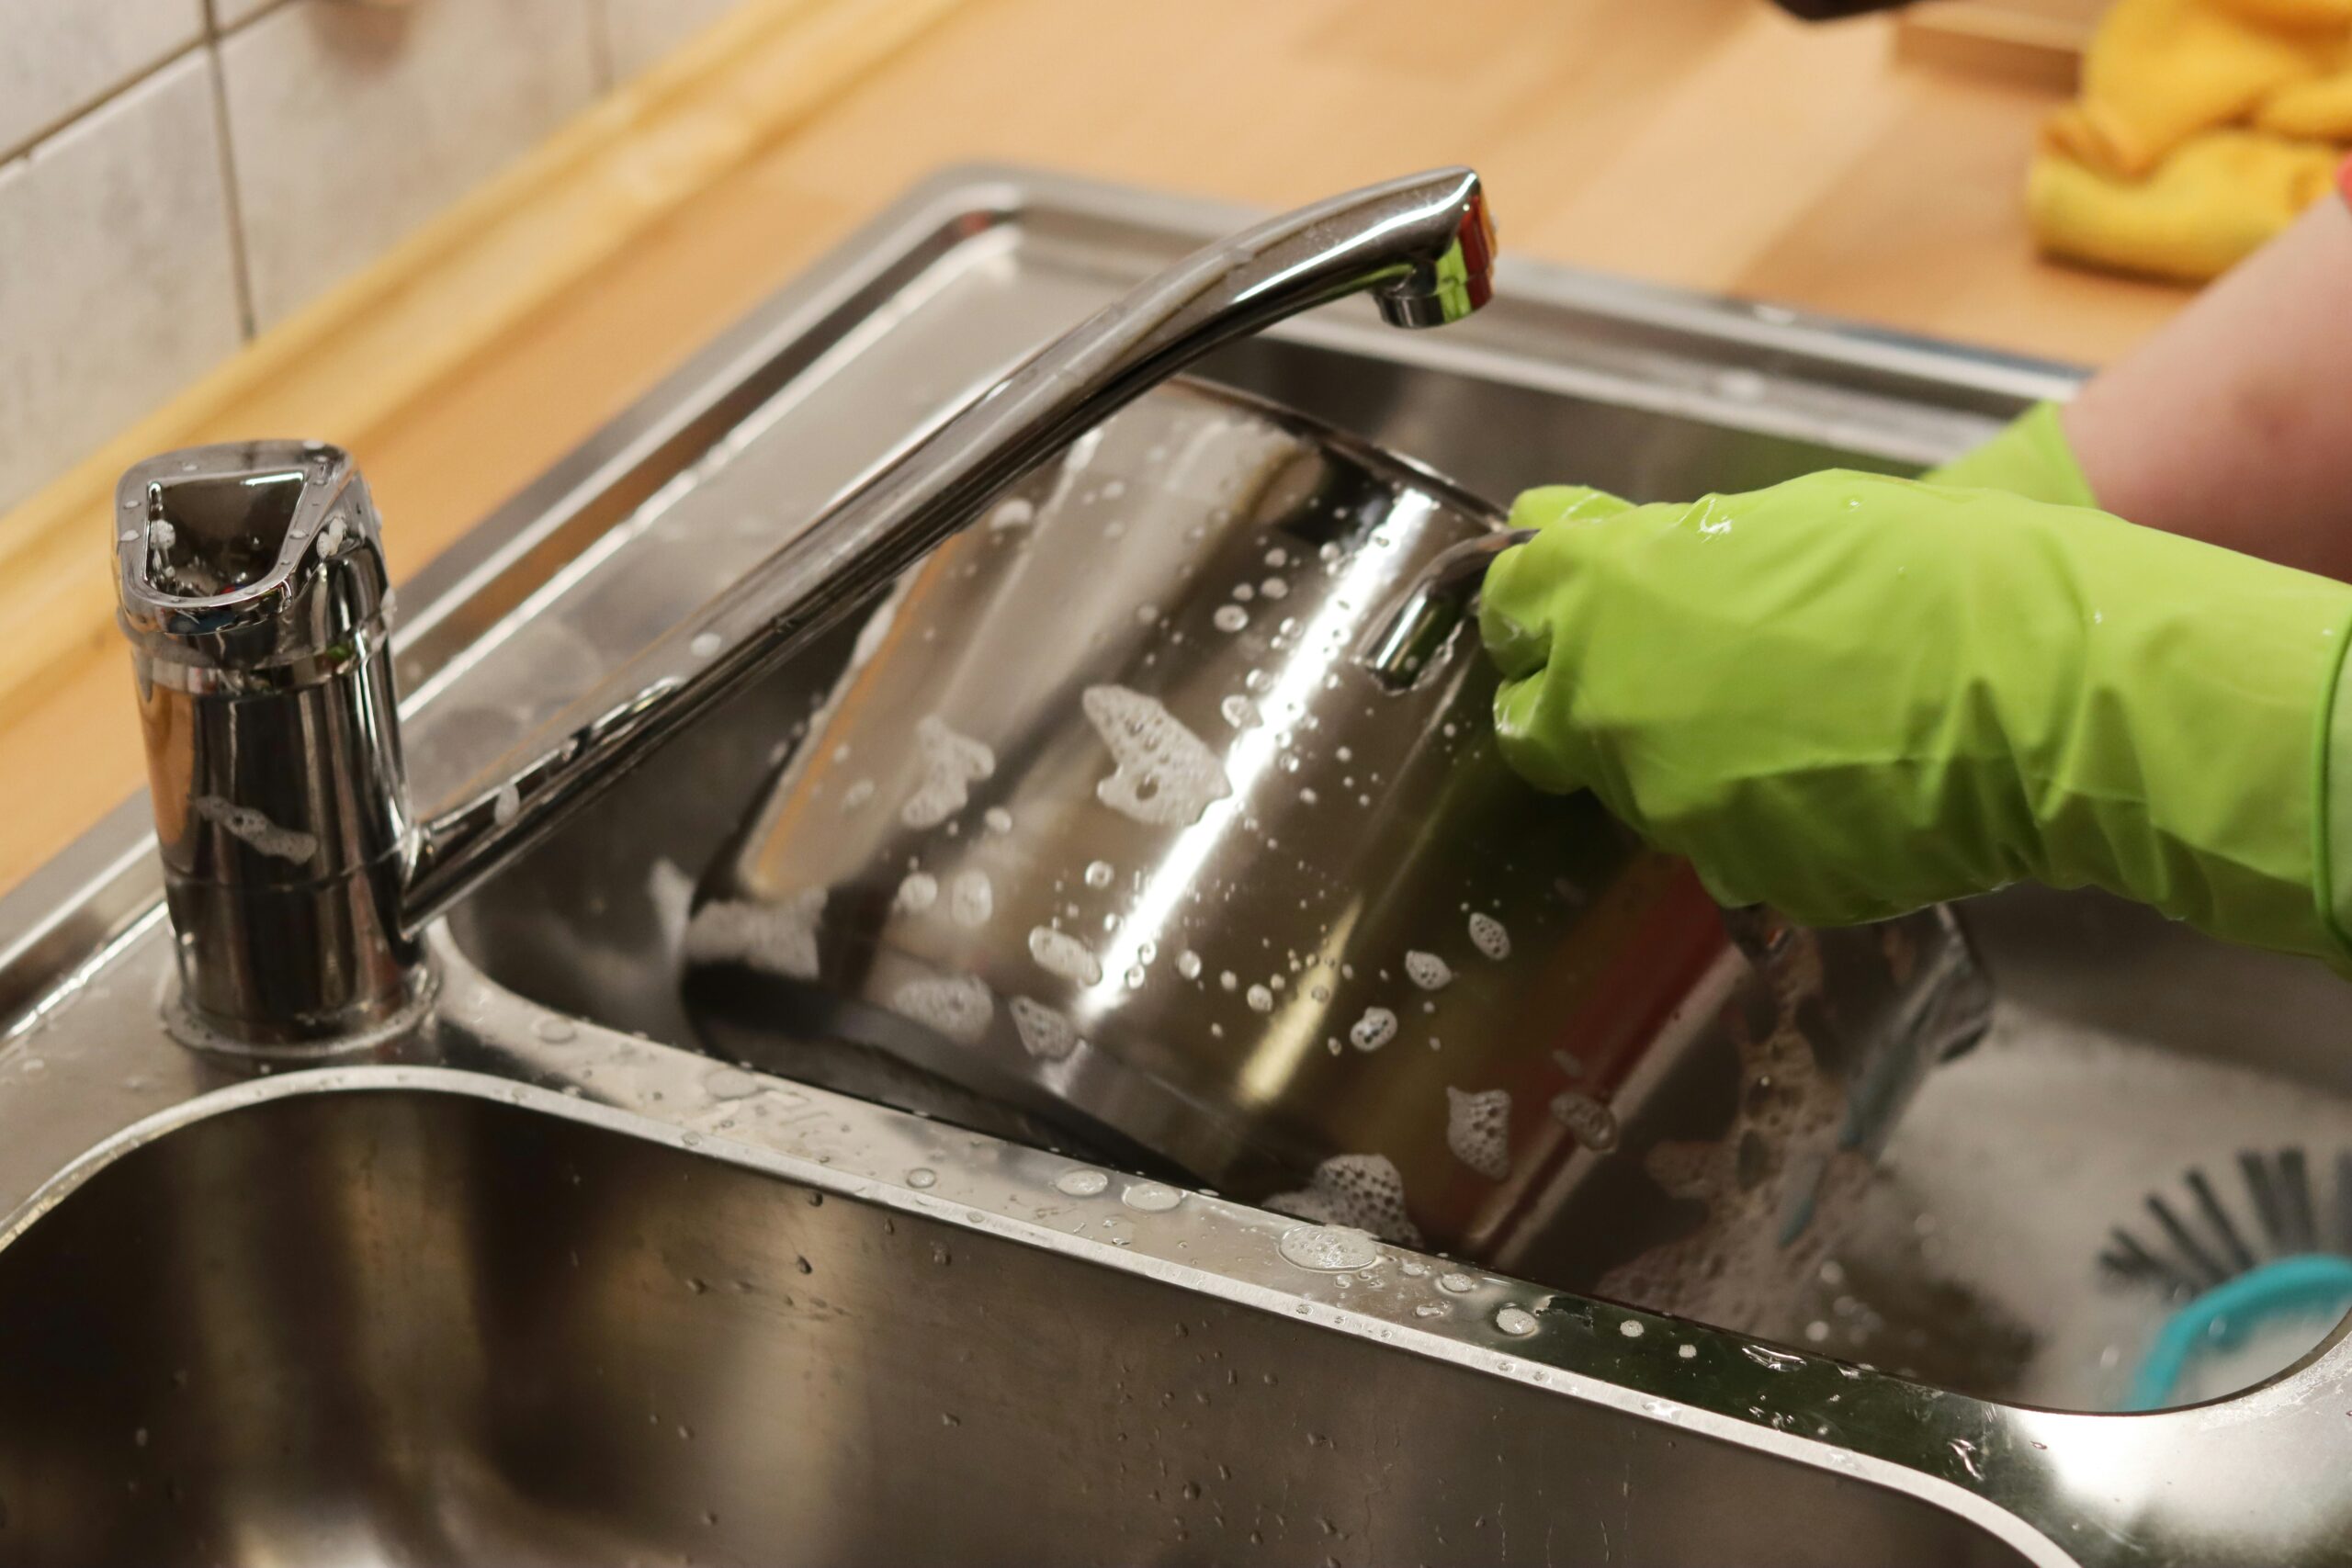
It’s long lasting, but despite its tough exterior, stainless steel scratches much more readily than you’d expect. You can leave streaks by banging in the frying pan, the appliance handle, an abrasive sponge, a cleaning pad, or just by applying the cleaning action in the wrong way. If you are wondering how to get scratches out of stainless steel, the most important thing to understand is that not every scratch can actually be removed. Some can be blended or made much less noticeable, while deep scratches may require professional refinishing or replacement of the affected component.
The right technique to apply, however, varies according to the grade of finish, type and depth of the scratch, direction of the grain, and whether the surface is covered by a protective film. Manufacturer instructions do vary from one appliance to another, thus always consult your appliance instructions for details of using an abrasive cleaner or scratch removal procedure.
Why Stainless Steel Scratches So Easily
So why does stainless steel have a reputation as being tough? Its corrosion resistance and the durability required to take a high level of wear and tear are a significant part of this. But scratch and corrosion resistance are two very different properties.
Most of the stainless steel visible around appliances have a brushed surface, that with the lines, or grain, that is visible on the surface which run one direction, making stainless steel grain direction essential to understand before attempting scratch repair. These are caused during manufacture and when a scratch runs perpendicular to these lines (cross-grain) it can be much more obvious then if it runs parallel with the grain.
This is where technique comes into play. In fact many manufacturers, like Maytag warn that you should clean stainless steel along the grain of the finish (instead of against it), since going against the grain will put additional scratches in the surface.
The other crucial detail is that not all appliances labeled “stainless steel” are actually solid stainless steel and may instead have a specially applied surface treatment, a special “fingerprint-proof coating,” fake plastic laminate, etc. What might work fine on solid stainless, could completely ruin that type of special surface permanently. GE, for instance, differentiate between “traditional” stainless steel and its “CleanSteel” surfaces for the purposes of scratches, so it stands to reason you wouldn’t want to use a harsh abrasion treatment if your GE appliance is its other variety of stainless.
First Determine What Kind of Scratch You Have
Before you attempt to fix the surface, wash it well. A mark that appear to be a scratch may simply be a food build-up, grease, mineral deposit or other substance resting on the stainless steel.
Use warm water along with a tiny bit of mild dish-washing soap and a soft microfiber cloth. Work it in the direction of the “grain,” wash away any residue, and pat it completely dry. This introductory step of cleaning remains in agreement with what most stainless-steel makers want you to do to stainless steel.
After you have washed the surface and dried it properly, check the mark out in good light.
Fine surface scratches
These are shallow lines that affect the appearance without creating a pronounced groove. They are usually the best candidates for careful blending or polishing.
Moderate scratches
These are more visible and may catch your fingernail slightly. They may require controlled abrasion to blend the damaged area into the surrounding grain.
Deep scratches
If the scratch is deep enough to reveal a different layer of paint, or if it still stands out after trying some simple home remedies, you may find that you will not be able to remove them entirely by trying to polish it yourself. Trying different abrasives, going from a less aggressive to a more aggressive one can actually make it harder to hide the scratch.
It should be noted, that in some cases the goal should not be to remove the scratch, but rather to make it less obvious and almost indistinguishable from the rest of your car.
How to Get Scratches Out of Stainless Steel Safely
1. Start With a Stainless Steel Cleaner
For very minor scratches, start by using some sort of cleanser designed specifically for use on stainless steel. Use the product as instructed and make sure to wipe in the direction of the grain, not back-and-forth, with a soft cloth. If you use an appropriate cleaner, it may be able to remove the scratch entirely.
This is especially the case for GE, which recommends that proper use of stainless steel cleaners can allow you to remove minor scratches as well as restore the shine of your appliance, and for Maytag, which recommends cleaners/polishes specially made for stainless steel.
The main benefit is that it’s something you can do easily, while the downside is that it only works for very minor scratches, as most cleaners aren’t strong enough to remove even the slightest amount of metal from the surface of the steel.
2. Try a Fine, Non-Gritty Stainless Steel Cleaning Product
Minor imperfections such as rust spots, discolorations, and scratches may often be removed using an appropriate stainless steel cleaner.
GE recommends using a liquid cleaner that contains oxalic acid for the removal of rust, tarnish, or minor imperfections from stainless steel surfaces, highlighting the importance of choosing stainless steel cleaning products that match the surface finish.
It is crucial to choose a liquid formula and not a gritty one and to rub it in the direction of the metal graining.
It is also important to note that while a certain cleaner may be recommended for use on stainless steel, it does not mean that it is safe to use on all stainless steel appliances. It is always necessary to carefully read and follow the care instructions for each individual appliance.
Moreover, when trying to remove scratches by rubbing the metal surface with a cleaning agent, it is vital to understand that the higher the aggressiveness of the substance, the greater the risk of damaging the metal and creating a large dull spot around the scratch.
3. Use a Stainless Steel Scratch-Removal Kit for More Noticeable Scratches
For traditional stainless steel with a brushed finish, using a special scratch-removal kit may help to remove scratches more precisely.
Usually, such kits contain abrasive materials of different roughnesses. The working principle of these tools is quite simple; they allow to remove a thin layer of steel so that the damaged spot looks like the surrounding area.
First of all, a person needs to properly clean the surface and get familiar with the direction of the brush’s grain. Then, he should work on the damaged spot with particular attention, following the direction of the stainless steel’s grain. It is essential to use materials with a coarser grit first and switch to finer ones when instructions say so. Scratch-removal advice from Bob Vila suggests the same techniques about working with the grain and using a set of different abrasives to continue sanding until the spot looks like the surrounding area.
It may seem that the described practice is not different from regular cleaning, but it requires more attention and efforts. It is better to try practicing on some hidden spot before trying the technique on visible places if the instructions allow.
The most common mistake that people make when they try to fix superficial scratches is trying to sand a narrow spot. Instead of making a narrow sanding mark, a person should work on the whole surface, not leaving any spot unprocessed.
4. For Brushed Stainless Steel, Match the Grain
The direction to grain is arguably the most crucial technical point when repairing a scratch.
First, take a close look at the surface.Most commonly, you will notice that on the surface of the material there are fine parallel lines that are going either horizontally or vertically. This is called the grain, and you need to follow it.
If the lines go horizontally, you will move horizontally; if they go vertically, you will move vertically.
Never use circular movements when trying to blend out a scratch, because such motion will create a circular mark, thus ruining the homogeneous appearance of the surface. Manufacturers warn about this issue as well: Maytag advises to wipe in the direction of the grain to prevent making scratches across the grain, while GE recommends to work with the grain when removing blemishes.
Why does grain direction matter so much?
A brushed surface has myriad tiny directional lines. When blended into such a surface, newly applied material will less obviously stand out from the surrounding material. Worked against the grain, the repair is more noticeable.
In fact, the direction of the repair can be as critical a factor as the materials used.
5. Use a Mild Abrasive Only When the Finish Allows It
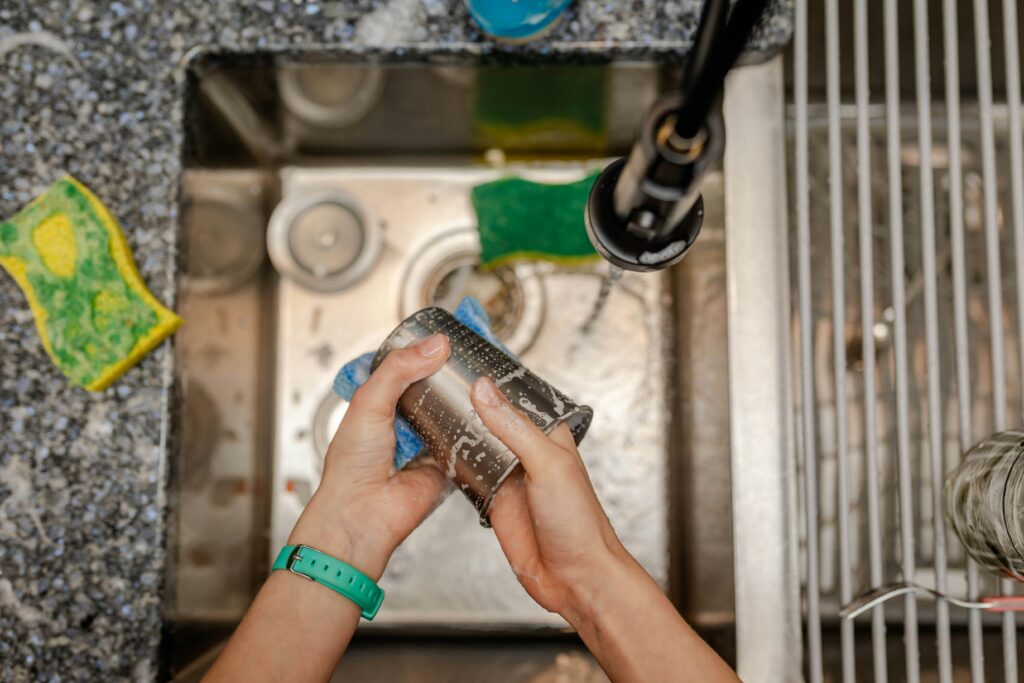
For certain brushed and uncoated stainless steel finishes, a gentle abrasive pad may assist in the removal of scratches.
It is necessary to use an abrasive suited to a particular surface and to follow the grain direction, as these methods require removing particles of the scratched surface rather than merely masking the imperfection
It is also essential to keep in mind that such means are not appropriate for all stainless steel surfaces.
Manufacturers often caution against employing abrasive pads, steel wool, powdered cleaners, or other coarse materials when caring for particular stainless steel finishes
For instance, Maytag recommends avoiding abrasive materials when maintaining fingerprint-resistant or other special stainless finishes.
In this regard, it is essential to recognize the specific type of the stainless steel surface before attempting to use abrasive materials.
Therefore, if there is uncertainty about whether a certain appliance is made of conventional stainless steel or a coated stainless steel, it is not recommended to use any abrasive materials on the prominent surface. It is better to consult the owner’s guide or the manufacturer rather than damaging the surface due to the lack of knowledge about the specific features of one or another finish.
6. Blend the Surrounding Area Rather Than Chasing One Line
One of the most effective techniques used in scratch repair is blending.
Let’s suppose that there is a scratch couple of inches long. Trying to focus on a specific spot will lead to an appearance of a white line and a light spot.
Therefore, in order to blend the scratched area correctly, you need to gradually remove the line until the polished surface becomes seamless with the remainder.
This is especially crucial when it comes to repairing large scratches.
The scratch-removal instructions are straightforward: you need to reduce the damaged spot until it is almost invisible instead of stopping when the line is gone.
Moreover, in order to reduce the spot, you need to use moderate pressure and constantly check the progress to avoid wasting the metal unnecessarily.
Therefore, moderate pressure is more effective than trying to remove the scratch with a firm motion.
Once you have properly blended the surface, you need to stop even if the scratch is not fully gone.
Otherwise, you will end up creating a new spot.
7. Finish by Cleaning and Drying the Surface
After completing the scratch removal procedure, it is crucial to ensure the surface is free of any residual cleaner or abrasive materials. This should be done by wiping it with a clean, soft piece of cloth.
The next step is to rinse and finish the surface according to the cleaner’s instructions. Usually, for common stainless steel surfaces, it is recommended to get rid of any remaining abrasive substances and allow the surface to dry.
Drying is an essential step in this process, and it should not be overlooked. Left water spots can make the repaired site look uneven, even if the scratch is completely gone.
The last step is to examine the repaired place from different angles. Depending on the lighting, the scratches might only be visible from specific locations due to varying grain visibility.
Can Baking Soda Remove Stainless Steel Scratches?
Baking soda is often recommended as an improvised scratch-removal tool, but it should be used with caution.
A mixture of baking soda and water can act as a mild abrasive cleaner. According to Maytag, baking soda and water can be used to clean traditional stainless steel in the direction of the grain if the care instructions of the product allow to do so.
However, it does not mean that baking soda can remove a deep scratch.
It should only be used as a light abrasive cleaner to remove minor imperfections, while major scratches should be dealt with professionals. If you still want to use baking soda to polish your product, make sure to use light pressure in the motion direction of the grain. It is always a good idea to test the cleaner on a small and not noticeable spot.
In case of a valuable product with a special coating, it is better to rely on the manufacturer’s stainless steel cleaner rather than risk damaging the surface with an improvised abrasive mixture.
What About Toothpaste?
Whitening toothpaste is sometimes recommended due to its mild polishing action. Some websites suggest it as a means of removing the finest scratches.
However, toothpaste is not a universal cleaner for all stainless steels. Different brands will have different levels of abrasiveness.
If your appliance maker does not approve of it, there is no particular reason why you should go for an improvised abrasive when a dedicated less aggressive cleaner is available, especially if dealing with a special coating or a fingerprint-resistant finish.
The same goes for any other home remedy. Just because it is popular on the internet does not mean that it is suitable for all stainless steels.
What You Should Never Use on Stainless Steel
Some of the most common scratch-repair mistakes involve products that are simply too aggressive.
Steel wool
Steel wool can create additional scratches. GE specifically warns against steel wool on stainless steel surfaces, and steel particles can also contribute to rust-related problems.
Chlorine or bleach-based cleaners
Chlorine-containing products can damage stainless steel and may contribute to corrosion problems. Manufacturer instructions commonly warn against these cleaners for stainless surfaces.
Abrasive powders
Highly abrasive powders can change the surface texture and create additional visible marks. Their use should never be assumed to be safe simply because the surface is metal.
Random scouring pads
A scouring pad that seems harmless on a sink may be inappropriate for a polished or coated appliance surface. The finish matters.
Circular scrubbing
Circular motions can create swirl patterns that conflict with the linear grain.
Excessive pressure
Aggressive pressure can enlarge the repair area and make the surface look uneven. Scratch removal should be controlled rather than forceful.
When a Scratch Should Not Be Repaired at Home
Not every scratch is a good DIY project.
Professional refinishing becomes more appropriate when the damage is deep, extensive, or located on a highly visible surface where an uneven repair would be particularly noticeable.
You should also exercise caution if:
- The surface has a fingerprint-resistant coating.
- The appliance is marketed under a specialized finish name.
- You cannot determine the grain direction.
- The scratch is deep enough to form a pronounced groove.
- A previous repair has already created an uneven patch.
- The damaged part is expensive or difficult to replace.
- The manufacturer’s instructions prohibit abrasive treatment.
GE notes that very visible scratches on some stainless steel appliance finishes may not have an approved repair method.
That is an important distinction: physical scratch removal is not always possible without changing the surrounding finish.
How to Prevent New Stainless Steel Scratches
Prevention is the best cure in most cases when following a stainless steel maintenance routine.
A microfiber or other recommended nonabrasive cleaning cloth should be used on a regular basis to clean the device according to the manufacturer’s recommendations. In addition, it is necessary to remove any abrasive contaminants during cleaning, since even a small amount of sand can scratch the screen when rubbed.
It is also important to distinguish between different types of stainless steel, since, for example, according to the manufacturer’s care instructions, finger-friendly stainless steel requires a more careful approach to cleaning. Therefore, for the proper care and maintenance of the device, it is necessary to know which type of steel is available, follow the manufacturer’s instructions, remove abrasive contaminants during cleaning, and wipe the screen in the direction of the grain.
A Practical Decision Guide
| Surface condition | Best starting approach |
| Dirt or residue that looks like a scratch | Mild soap, water, and microfiber cloth |
| Very light surface mark | Stainless steel cleaner and grain-direction polishing |
| Small blemish on compatible traditional stainless steel | Manufacturer-approved stainless cleaner |
| Fine scratch on uncoated brushed stainless steel | Carefully controlled scratch-removal method |
| Noticeable/deeper scratch | Purpose-made repair kit, if manufacturer permits |
| Deep groove or extensive damage | Professional refinishing may be more appropriate |
| Fingerprint-resistant/coated finish | Follow the manufacturer’s specific instructions |
The table illustrates an important point: there is no single universal scratch-removal technique. The safest method depends on the finish and severity of the damage.
Final Analysis: What Actually Works?
The best answer to how to get scratches out of stainless steel is to first determine whether you are dealing with a surface mark, a fine scratch, or deeper physical damage.
For light scratches, using the right stainless steel cleaner plus a good microfiber cloth might be sufficient to make them virtually disappear. More intensive cleaning with a mild abrasive can help blend out fine scratches from the surface of some standard stainless steel, but the deeper ones are challenging to remove completely since you would have to eliminate the surrounding material as well, which creates an obvious transition.
Most importantly, make sure to clean the stainless steel surface in the direction of the grain and always check the instruction manual to see if it is appropriate for the given finish. Always prioritize the manufacturer’s recommendations over any home remedies since various stainless steels might have different cleaning and maintenance requirements.
The extensive scratches that go deep into the metal’s surface are also best left to a professional because trying to remove them yourself can cause even worse damage, especially if you have to deal with the coated steel. Refinishing the surface so that it looks brand new is an option, or you can simply replace the damaged part if it is possible.
Conclusion
Learning how to get scratches out of stainless steel starts with recognizing that scratch repair is really a process of restoring the appearance of the finish, not simply rubbing a mark away. First, clean the surface, figure out which way the grain goes, see if the stainless is coated, and use the least aggressive option that seems feasible. Light scratches can often be carefully polished or blended out in some cases – deeper damage would need to be professional-done. Steer clear of steel wool, most abrasive chemicals/pads, chlorine and scrubbing against the grain, so you dont end up in worse condition overall.
FAQs
1. Can stainless steel scratches be completely removed?
Very fine scratches may sometimes be blended until they are difficult to notice. Deeper scratches are harder to eliminate because removing them requires altering the surrounding metal and finish. In some cases, professional refinishing is necessary.
2. Does baking soda remove scratches from stainless steel?
Baking soda mixed with water can provide mild abrasion and may help with light marks or surface blemishes on compatible traditional stainless steel. It is not a reliable way to remove deep scratches.
3. Can I use steel wool to remove a stainless steel scratch?
It is generally not recommended. Steel wool can create additional scratches, and steel particles may contribute to rust problems on stainless steel.
4. Should I polish stainless steel in circles?
No. For brushed stainless steel, polishing or wiping should generally follow the existing grain. Circular movements can create visible swirl marks that do not match the original finish.
5. Can toothpaste remove stainless steel scratches?
Some DIY sources suggest mild toothpaste for very fine scratches, but toothpaste is not specifically formulated for every stainless steel finish. A manufacturer-approved stainless steel product is a safer, more controlled choice, particularly for coated appliances.
6. Why did my stainless steel look worse after polishing?
You may have polished against the grain, used an abrasive that was too aggressive, applied uneven pressure, or treated only the scratch instead of blending the surrounding area. A coated finish can also be damaged by inappropriate abrasion.
7. When should I call a professional?
Consider professional help when a scratch is deep, covers a large area, affects a valuable appliance, or appears on a fingerprint-resistant or otherwise coated finish. A professional can determine whether refinishing is practical without creating a larger visible defect.